When we bought this house, I didn't do my best when determining exactly how much power was going to the shop. I saw an 100 Amp breaker in the panel in the garage and figured it had plenty of power; but I failed to verify the main panel in the house had a matching breaker.
Well it turns out that it only had a 30 amp.. Not the end of the world, we could have made it work - after all, we used the dryer's 30 Amp plug in Texas just fine - never even tripped. So one day I opened the panel to start to figure out what's wired where and inspect it and then I realized they only ran 10/2 to the panel.. Why is this an issue you might ask? Well it means there's only 3 wires going to the panel... but for normal 110/220 Volt panel you need four - 2 hots, a neutral and a ground. The reason this was "working" is that in the main panel neutral is bonded to ground. What this meant though is that the ground wire was actually carrying a current in normal use - definitely not something you want. It also means that the ground isn't actually a ground. So this needed remedied.
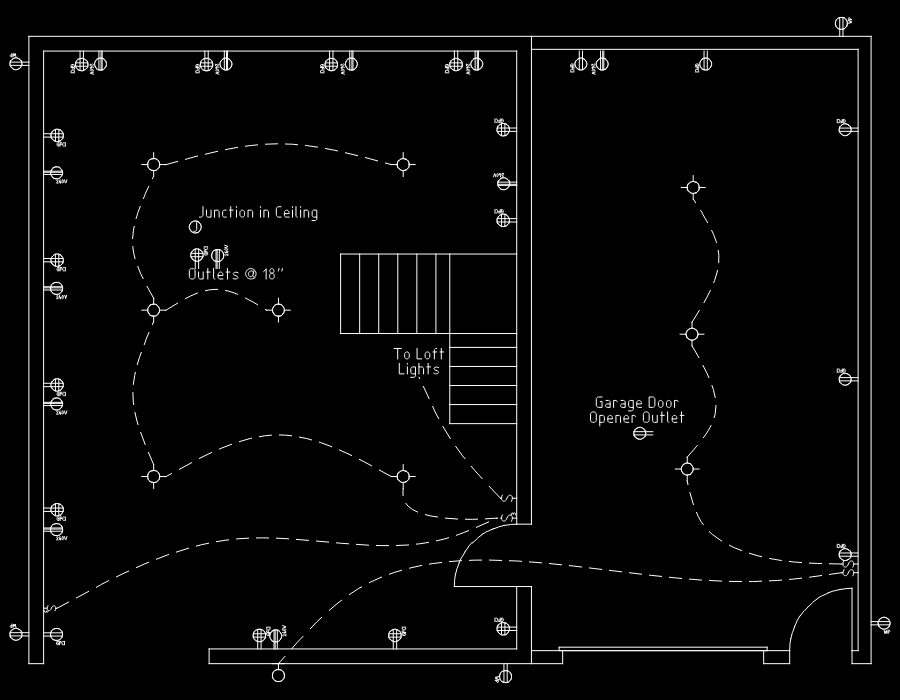
Since I now needed to run a new wire to the shop I decided that I might as well run a big enough for a proper 100 Amp service - enough to run an Air Conditioner and tools at the same time. The first step was getting drawing up a plan and getting permits (ugh) which took a little while for them to be reviewed.

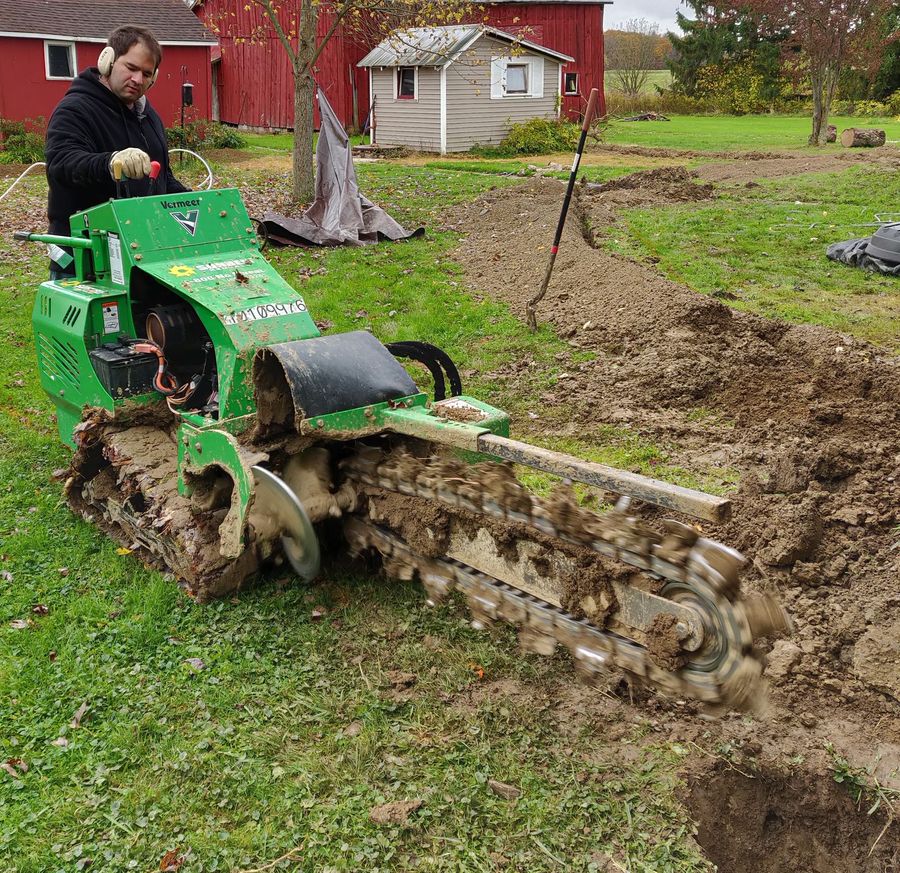
Since the shop is detached, once I had the permit we could start the muddy process of digging the trench. We needed approx 160' trench at least 24" deep because I also wanted to run network cable out to the shop - might as well since I'm already doing the hard work of trenching. So we rented a trencher and got busy getting muddy. (October 23rd)

Dad came over to help trench - which was a huge help as we were then able to get the conduit put in that evening. Which was a HUGE relief as it rained the next day and the mud started filling in the trench. Also - thankfully Daniela was able to drive 2 hours to go pick up PVC as there was a huge shortage when we were doing this project - otherwise we probably would've needed to rent the trencher again to redig the trench. Even though we got the majority of the conduit it I didn't yet have everything necessary to complete the job - the LB bodies (to go into the house from the conduit) and the expansion slip joints.


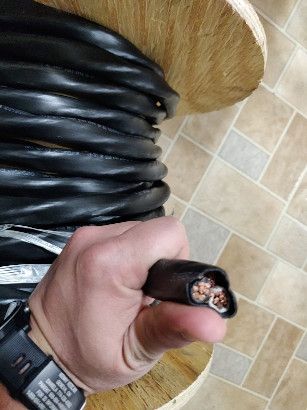
Once the conduit was mostly in, I could measure and order the over $1000 of wire necessary for this project (ouch), which arrived November 3rd.

Since the wire arrived I could start by running the wire that goes inside thouse. This was super thick and not easy to run. But I managed to get it where it needed to go.


That weekend (Nov 6th) the rest of the conduit arrived and I could finish running running it into the house.

Once the conduit was complete it was finally time (Nov 7th) to start running wire in the conduit. Once again Dad came over to help!

Let me tell you, it was definitely a workout! Even though the conduit was oversized, pulling that much wire around 180 degrees of bend was tough. Definitely got my weighted squats in as I would squat down, hold the rope wrapped around a screwdriver at my chest and then stand back up.
One part of this project was also runing an electric line to the shed. We pulled the wire the same weekend and the next day I ran the wire inside the shed for lights and an outlet. Definitely makes seeing what's inside it easier.
The rest of November was taken up by other projects - like slabbing a huge log.
Once I got back to this project there was still some major outstanding tasks:
- Wiring the junction box inside to join the individual wires to a single wire bundle

- Framing the wall up for the panel in the garage, which included removing the panel and wiring up a temporary panel so I still had some power

- Installing the new panel in the shop (Dec 6th)

- Write the cable into the new panel, while I was at it I added a new ground bus to make it a bit easier to add circuits (Dec 13th)

Finally I was able to connect the panel in the shop and wire a few outlets - even replaced the unsafe panel with a single outlet so I can have a light if I need to work on the panel.. at least for now. The plan is to eventually remove it.

This is just a temporary finishing point - wiring the rest of the outlets requires framing more walls as well as a new "floor" for the loft so that I can run wires to the other side of the shop and the garge without drilling through 12" beams. But that will have to wait for another day as it's an expense we can't quite afford right now.
This project took over 6 weeks to get this far, but I'm glad it's finally "done". I wish it was complete complete, but it's in a state where I can use tools without worrying about what else is on. Which means I can leave the heater on while working! (actualy blew the 30 amp breaker when I was cutting some boards with the heater on a few weeks ago)
