Daniela's dog Dasha (aka Baby) is around 9 years old now and has lost a lot of strength in her back legs. Often times she gets on the strugglebus when trying to get back up the back stairs onto the porch to go inside - so Daniela wanted a ramp made for her baby. After deciding on how long the ramp should be (with some consults with her friend who does dog rehab) the first step is making the stringers. Just a handful of cuts with a circular saw on some 2x10 material.
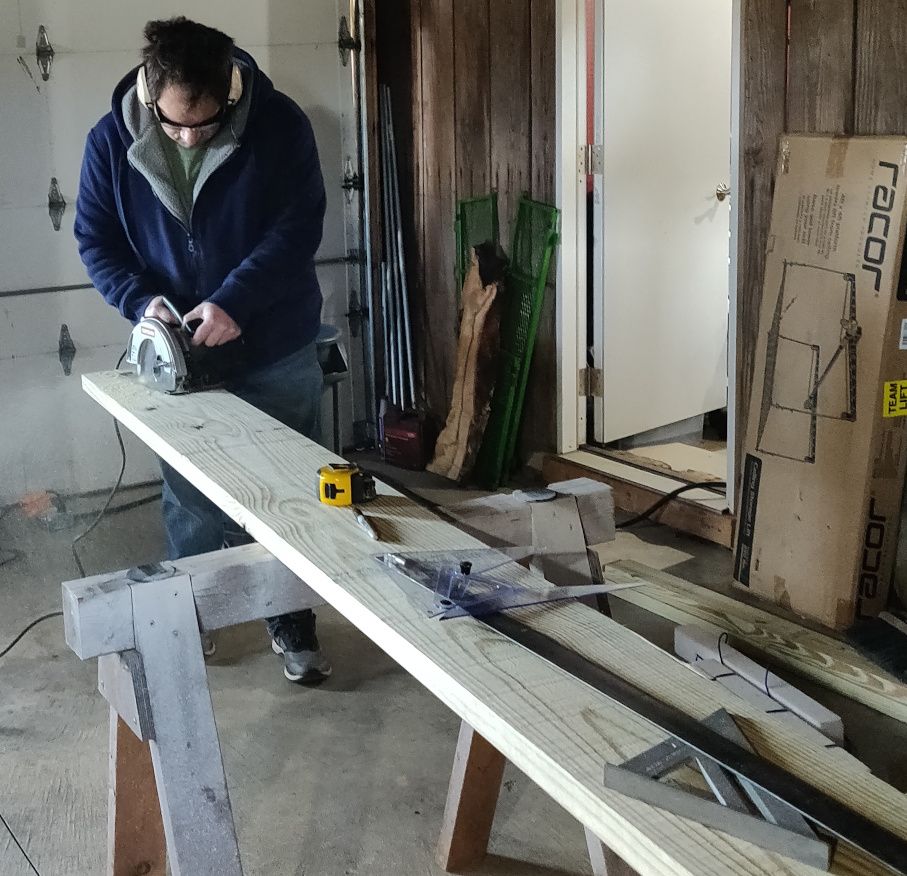
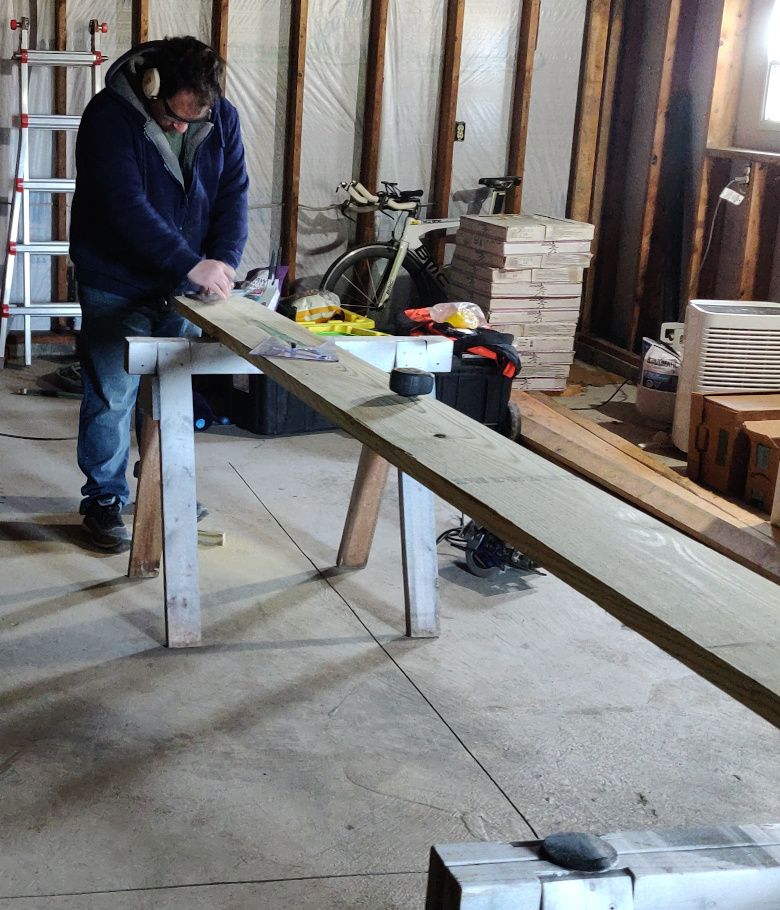
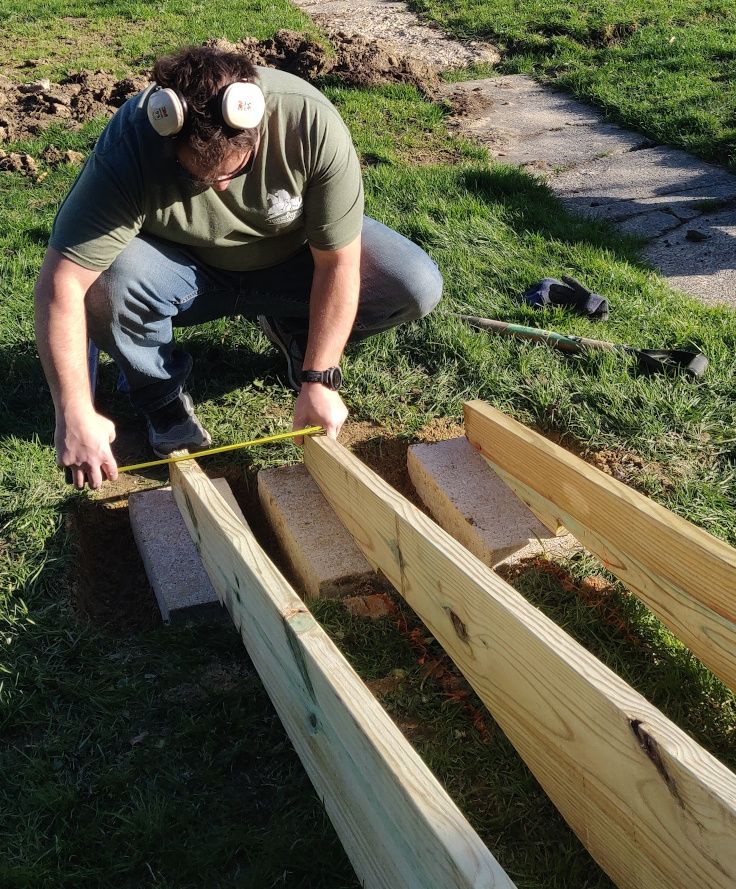
It took a two attempts to get it right - mostly because we didn't really have flat ground in front of the stairs - so the first cuts were mostly guessing - they were close though! Daniela helped with digging out for the sand and cinder block footing - not a perfect job, but it worked.
Once the stringers were cut it and the footing was in place was just a matter of some joist hangers and trying to hammer in nails - which sounds easy, but can be hard to get a 3" nail in without bending it.. Especially when working in such a weird location.
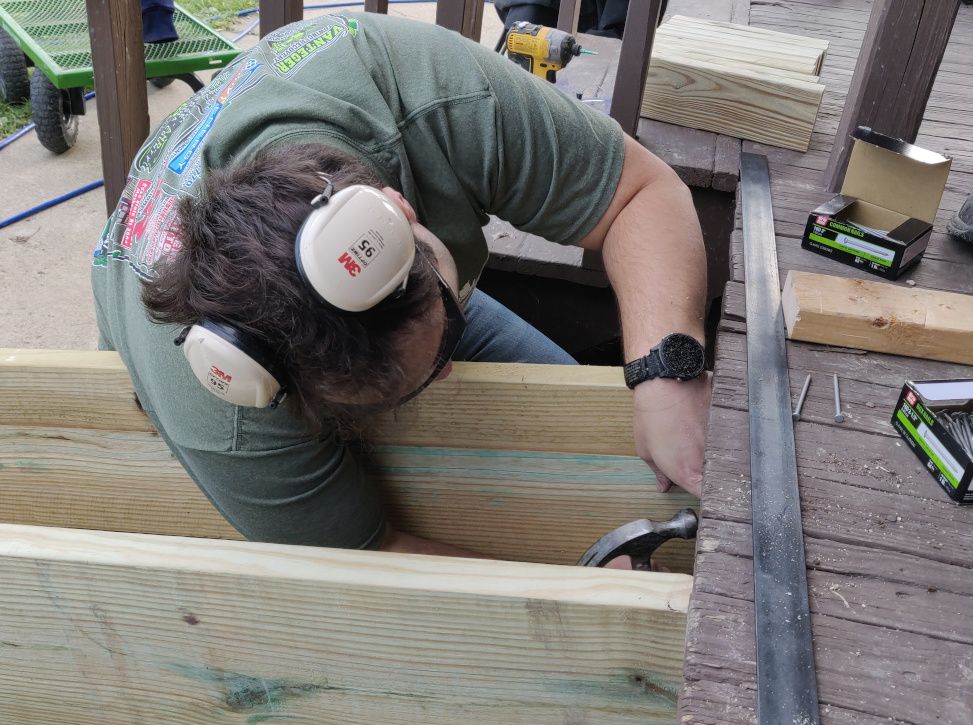
After getting the stringers in, I wanted some blocking to make sure they didn't move
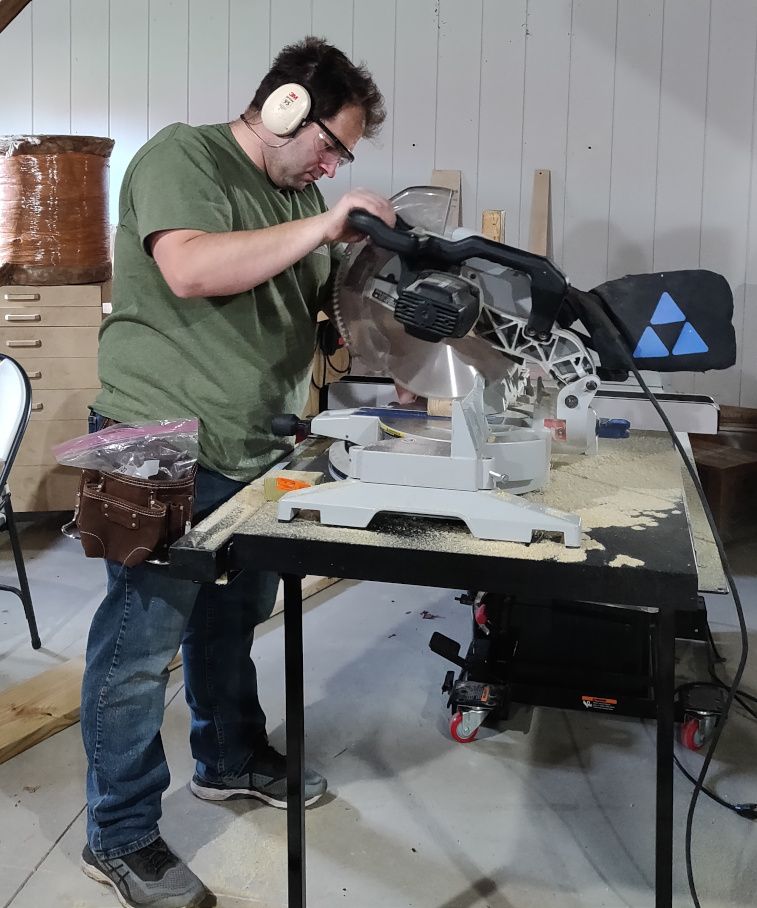
After cutting all the blocking, it was just a matter of getting it installed. A few handfuls of deck screws removed from the ugly walls in the shop did the trick.
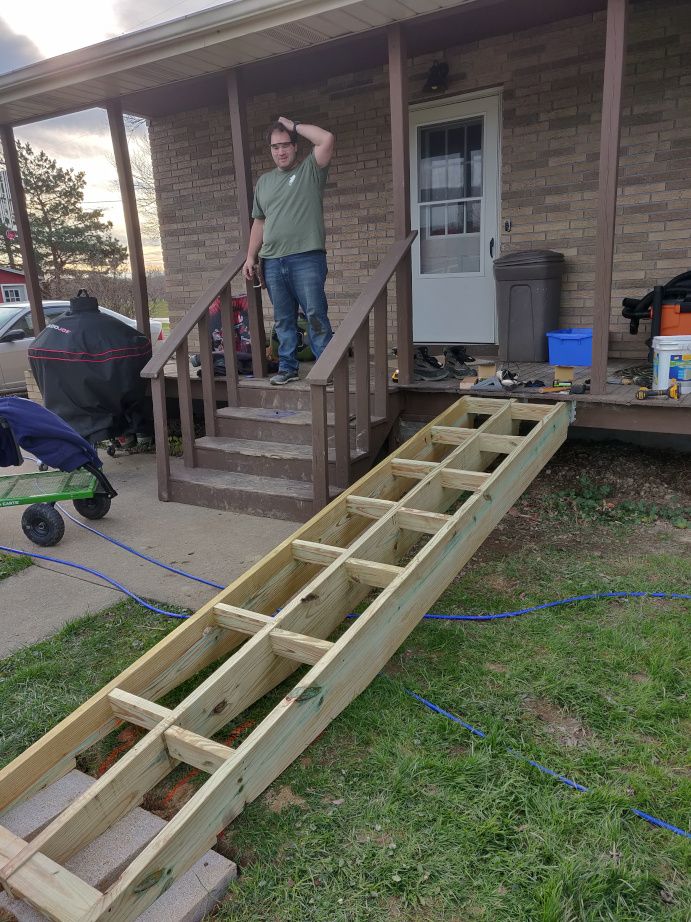
Sadly that's as far as we were able to get that weekend as we didn't have the hidden screw jig thing for attaching the top - not to mention I hadn't cut them yet.
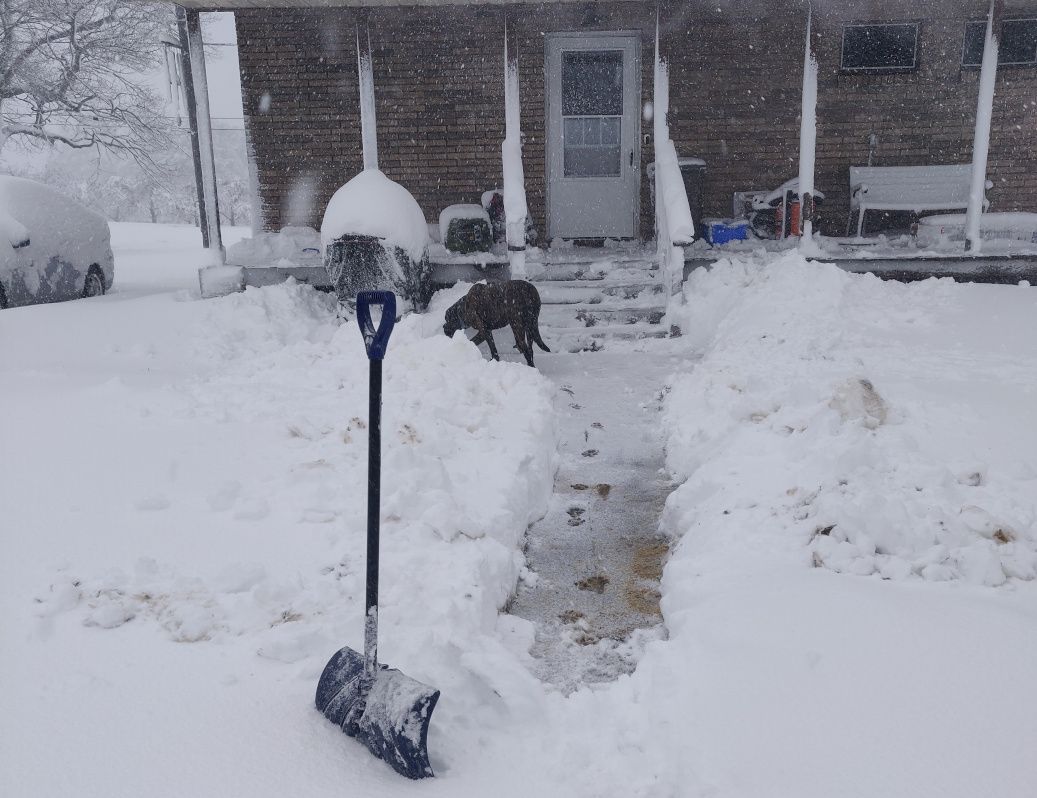
Sadly, we didn't get it done soon enough - we got our first snowstorm shortly a few days later (Dec 1st) It was enough snow that I got to use my snowblower for the first time.. and learn not to blow the snow upwind the hard way.

But that's not what this post is about.
Since I knew I had to cut 10 boards into three pieces each - all the exact same length, I wanted an easier way to do that then just measure every one. So I decided to make a simple miter saw stand using a design I saw on Frank Howarth's youtube channel that I thought was pretty cool - not a ton of work and very portable.
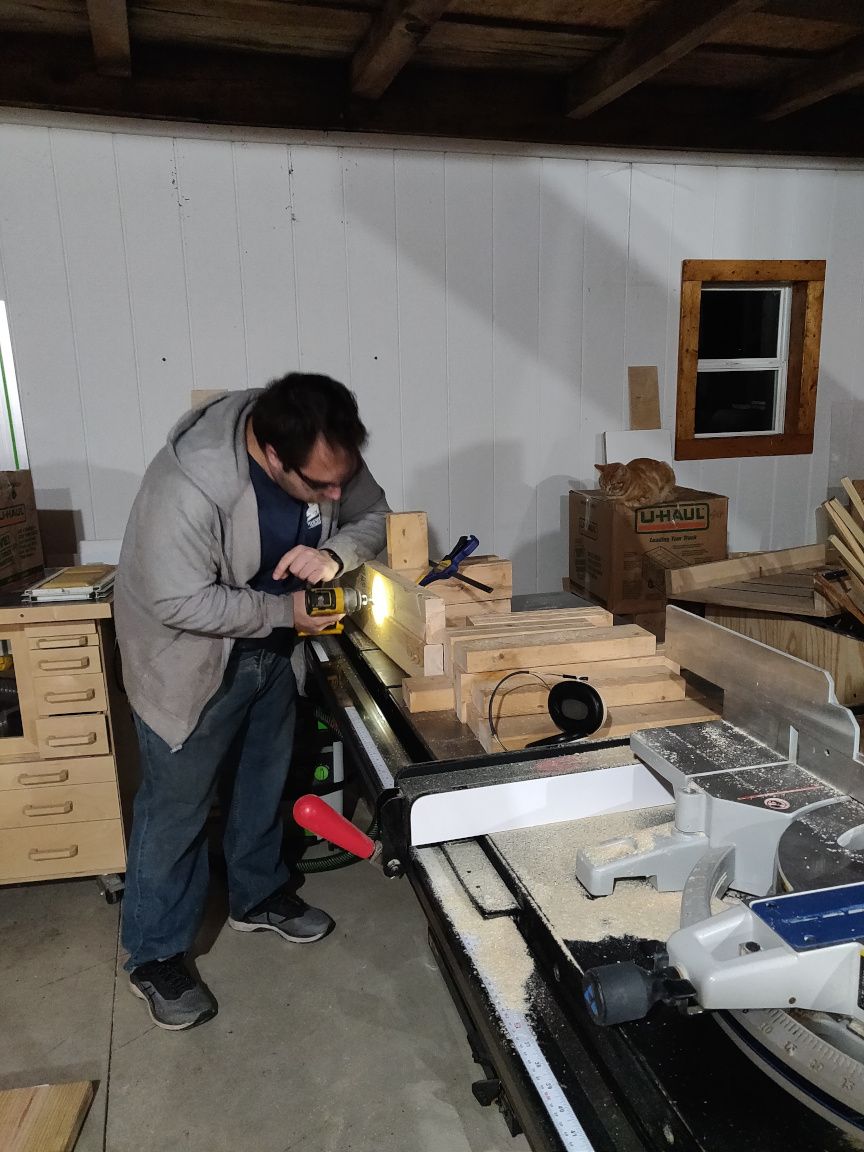
With the stand made it was pretty easy to add a stop to one of the material supports and cut all the decking to the same length. And since the CAMO Marksman Pro-X1 Tool finaly arrived, I could attach the decking using screws that go into the sides of the boards instead of the top.
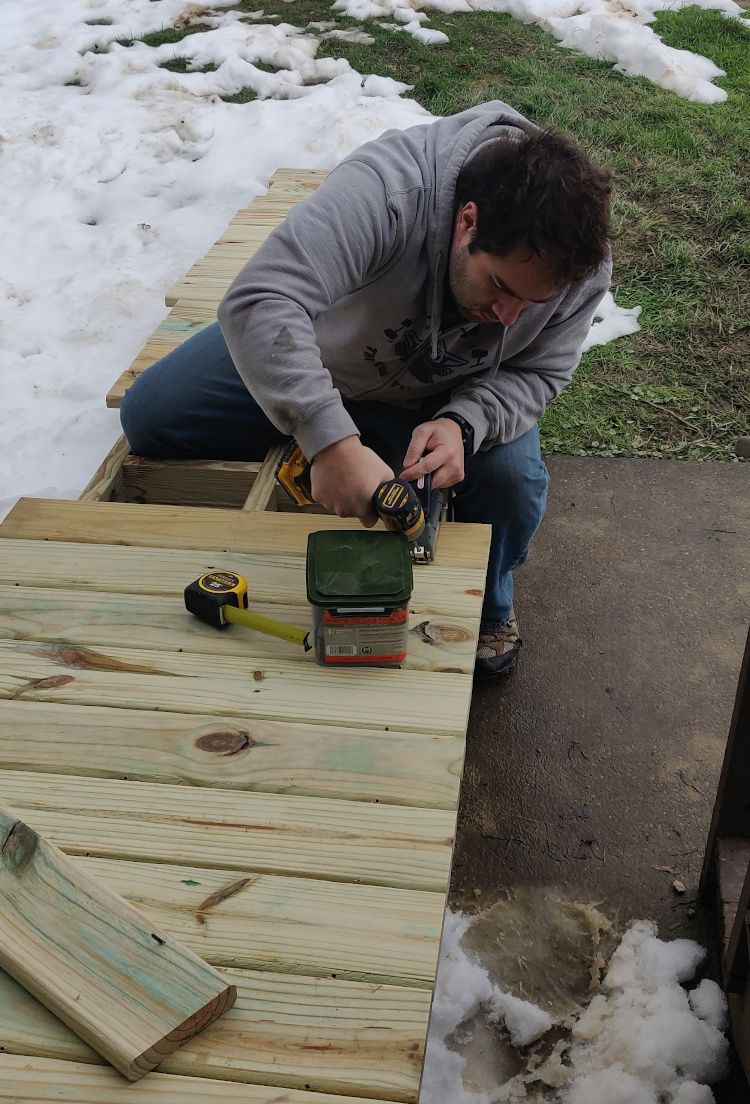
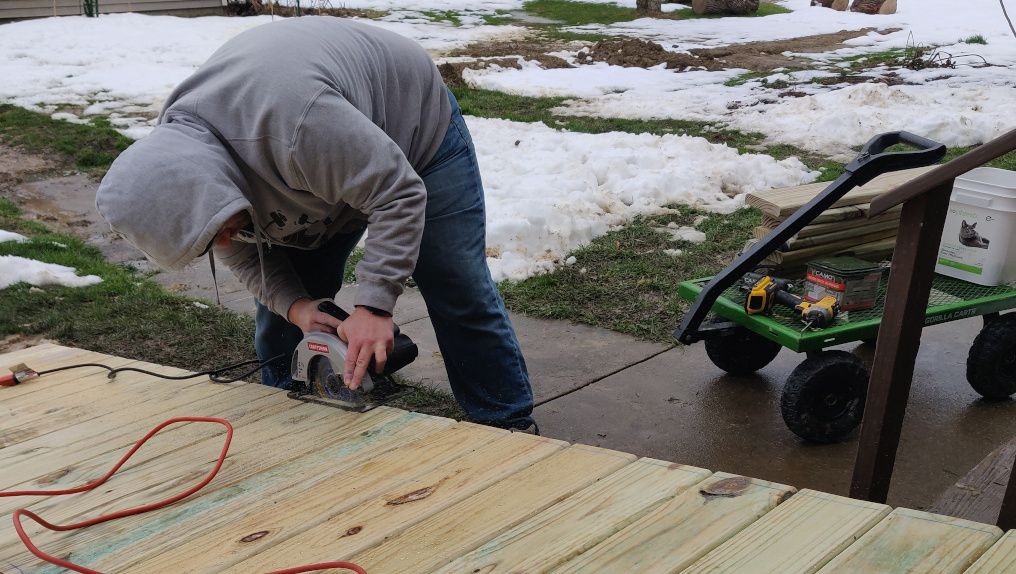
Even though I did a decent job cutting all of the decking to the same length - the ramp wasn't quite square (blame it on the completely not square deck). A simple chalk line snap and pass with the circular saw made it completely straight.
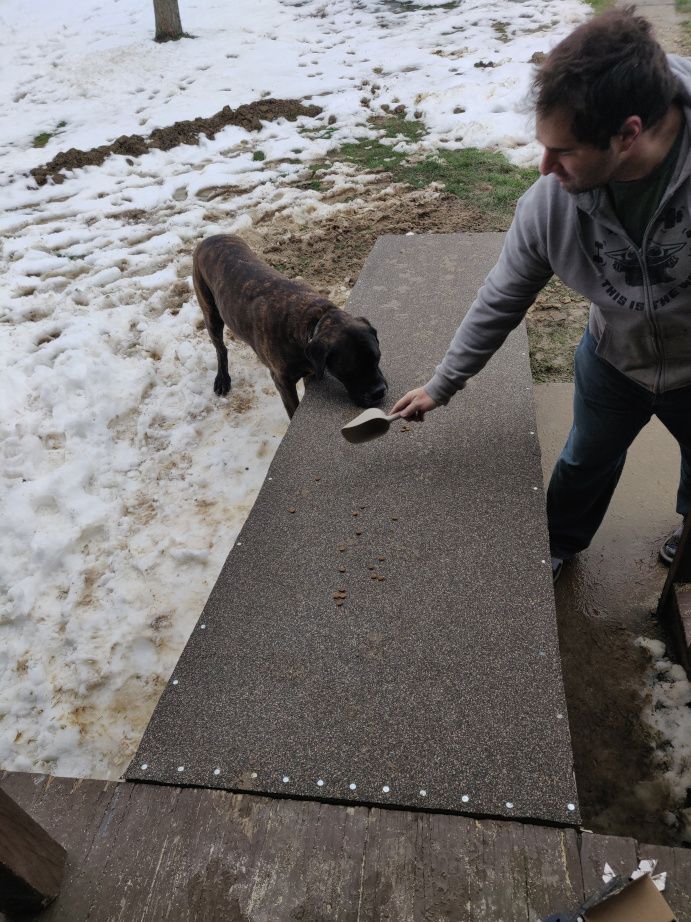
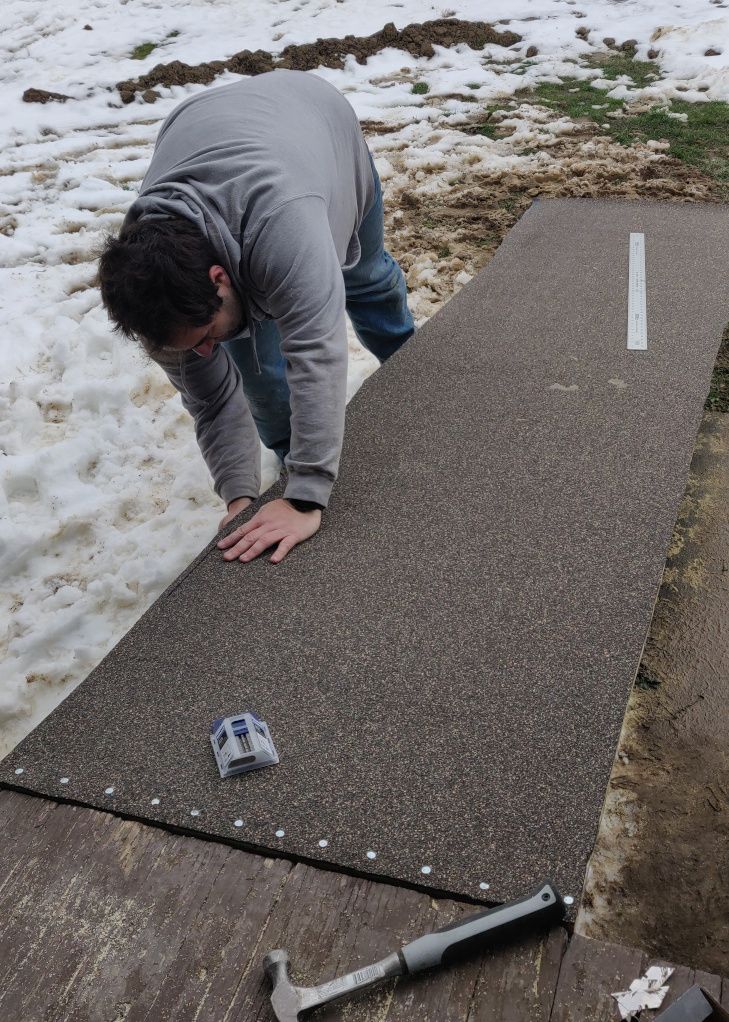
The last step was to attach a more grippy surface to the ramp so Dasha would feel more comfortable using the ramp - and to hopefully help when it's wet. We were given the recommendation of a roll roofing material and it worked out great. It's "adhesive" backed - basically tar, but because it was in the low 40s it wasn't going to stick at all. So some added roofing nails (we had just the right amount) made sure it wouldn't move until it had time to properly adhere.
And with that - the ramp was done... minus convincing the dumb dog that she should use it because it's way easier than the stairs.
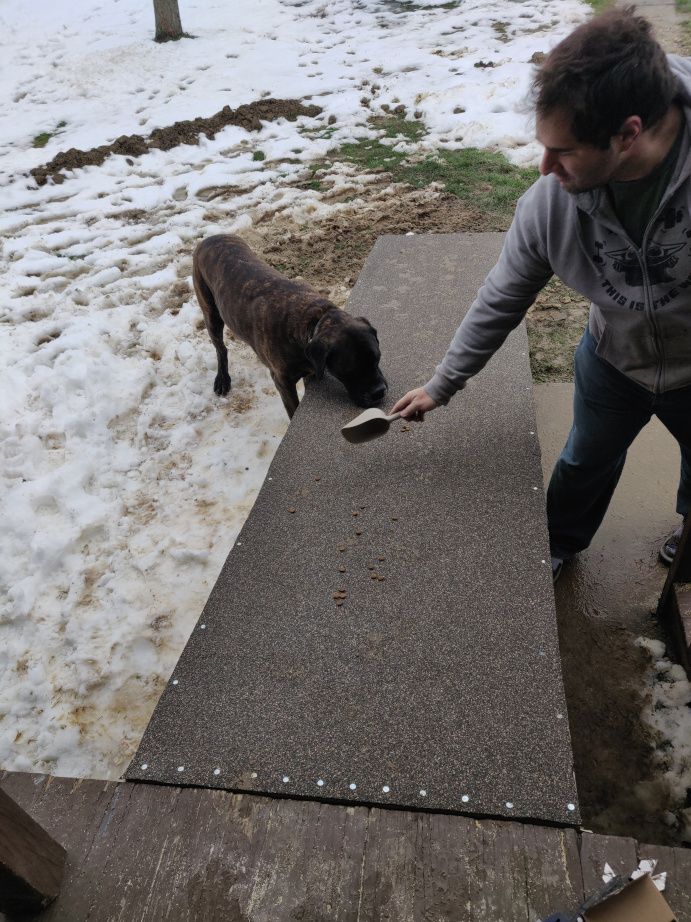
According to Daniela she has started using it to go down when Daniela let's her out .. my guess is she still uses the stairs for me because there's food at the bottom as I have to bribe her outside. But at least it's there for her and she'll hopefully start using it more.
Over all a very quick project - not even 3 days total and that includes making the miter saw stand - which will come in very handing when framing all the walls in the shop.
